图片设置
站点图标
站点图标又称站点icon(favicon.ico)
修改主题配置文件_config.butterfly.yml:
favicon: /img/favicon.png # 将图片放入 themes -> Butterfly -> source -> img 里 |

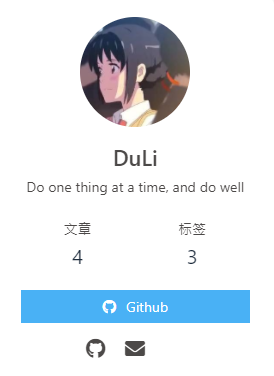
头像
头像即是首页个人卡片处展示的自己的头像
修改主题配置文件_config.butterfly.yml:
avatar: |
主页封面图片
在访问系统首页时,出现的封面图片
修改主题配置文件_config.butterfly.yml:
index_img: https://gitee.com/dulily/cdn/raw/master/img/214707-1543326427a764.jpg |
文章详情页的顶部图片
当没有在front-matter设置top_img和cover的情况下会显示该图
修改主题配置文件_config.butterfly.yml:
default_top_img: http://pic1.win4000.com/wallpaper/2020-08-21/5f3f3d10b054e.jpg |
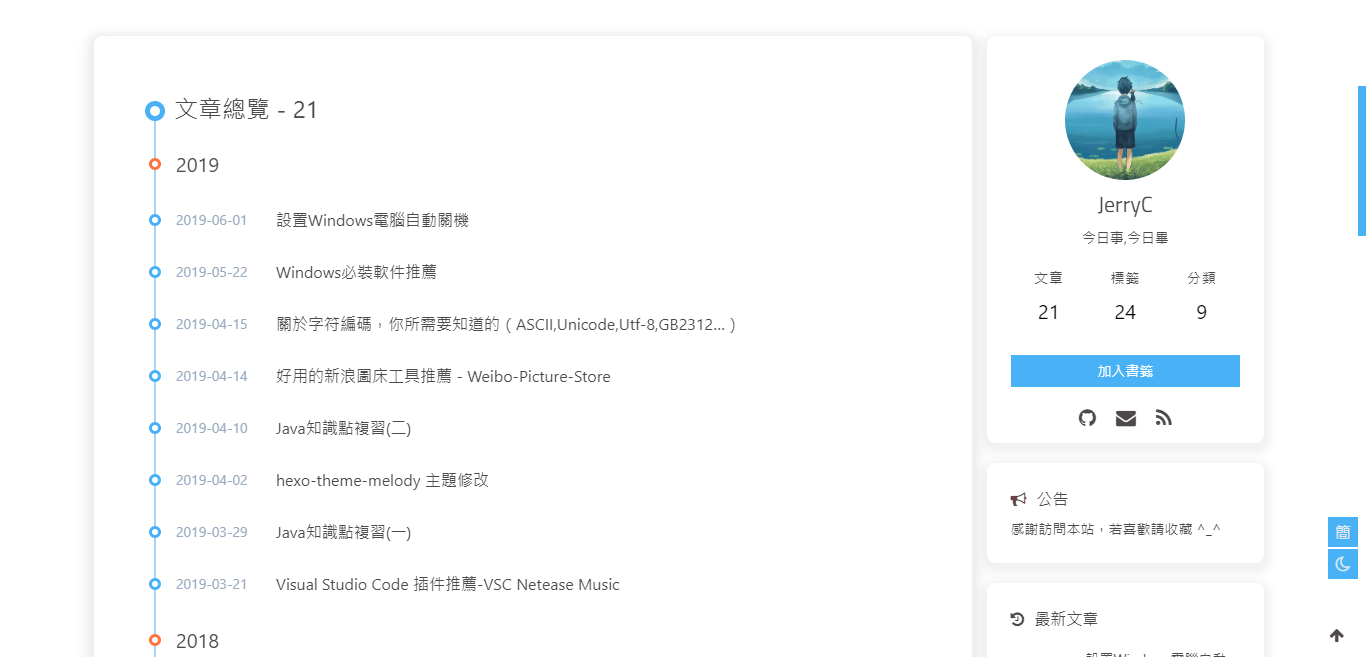
归档页顶部的图片
修改主题配置文件_config.butterfly.yml:
archive_img: http://pic1.win4000.com/wallpaper/2020-07-24/5f1a7c9533901.jpg |
标签页顶部的图片
修改主题配置文件_config.butterfly.yml:
tag_img: http://pic1.win4000.com/wallpaper/2020-07-24/5f1a7c9533901.jpg |
分类页顶部的图片
修改主题配置文件_config.butterfly.yml:
category_img: http://pic.netbian.com/uploads/allimg/170609/123945-14969831856c4d.jpg |
文章封面
每篇文章都可以设置一张封面,可以为每篇文章设置默认封面
修改主题配置文件_config.butterfly.yml:
cover: |
也可以修改每个md文件的front-matter的cover属性,会覆盖上面的默认封面。
错误图片
配置了该属性后会替换无法展示的图片
修改主题配置文件_config.butterfly.yml:
error_img: |
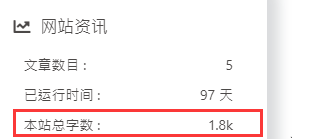
字数统计
要为 Butterfly 配上字数统计特性,你需要如下几个步骤:
- 打开 hexo 工作目录
npm install hexo-wordcount --saveoryarn add hexo-wordcount- 修改主题配置文件
_config.butterfly.yml:wordcount:
enable: true
post_wordcount: true
min2read: true
total_wordcount: true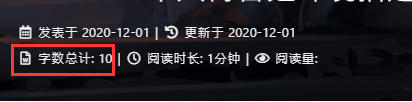
文章节选
主页文章节选,也就是文章摘要
修改主题配置文件_config.butterfly.yml:
index_post_content: |
分享
只能选择一个分享服务商
AddThis
访问 AddThis 官网, 找到你的 pub-id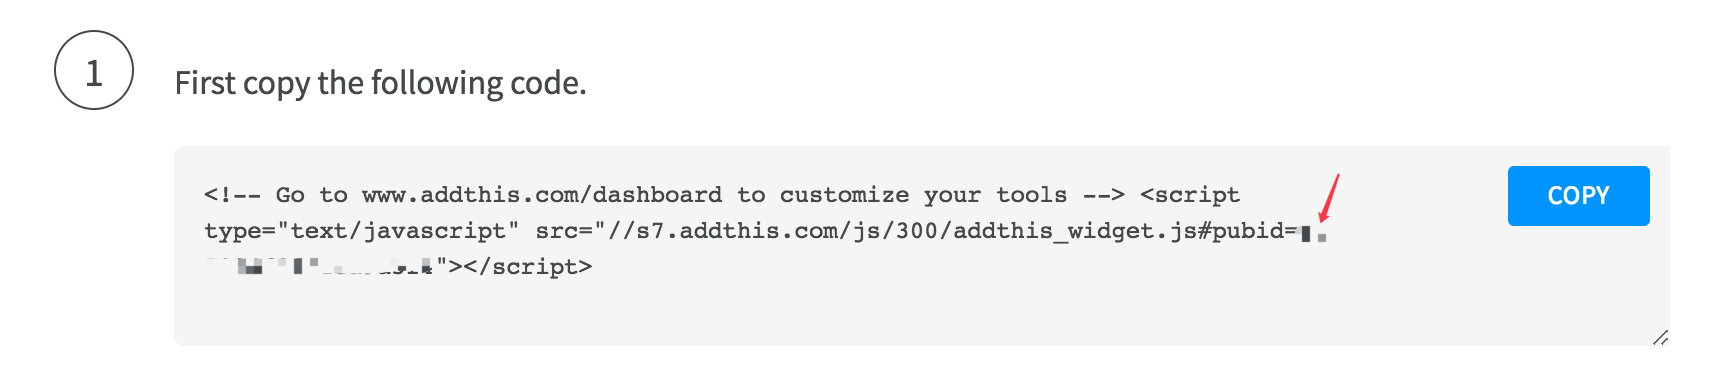
修改主题配置文件_config.butterfly.yml:
addThis: |
sharejs
如果你不知道 sharejs,到官网看看说明吧。
修改主题配置文件_config.butterfly.yml:
sharejs: |

AddToAny
可以到 addtoany 查看使用说明。
修改主题配置文件_config.butterfly.yml:
addtoany: |

评论
从 3.0.0 开始,开启评论需要在 comments-use 中填写你需要的评论。
支持双评论显示,只需要配置两个评论(第一个为默认显示)
修改主题配置文件_config.butterfly.yml:
comments: |
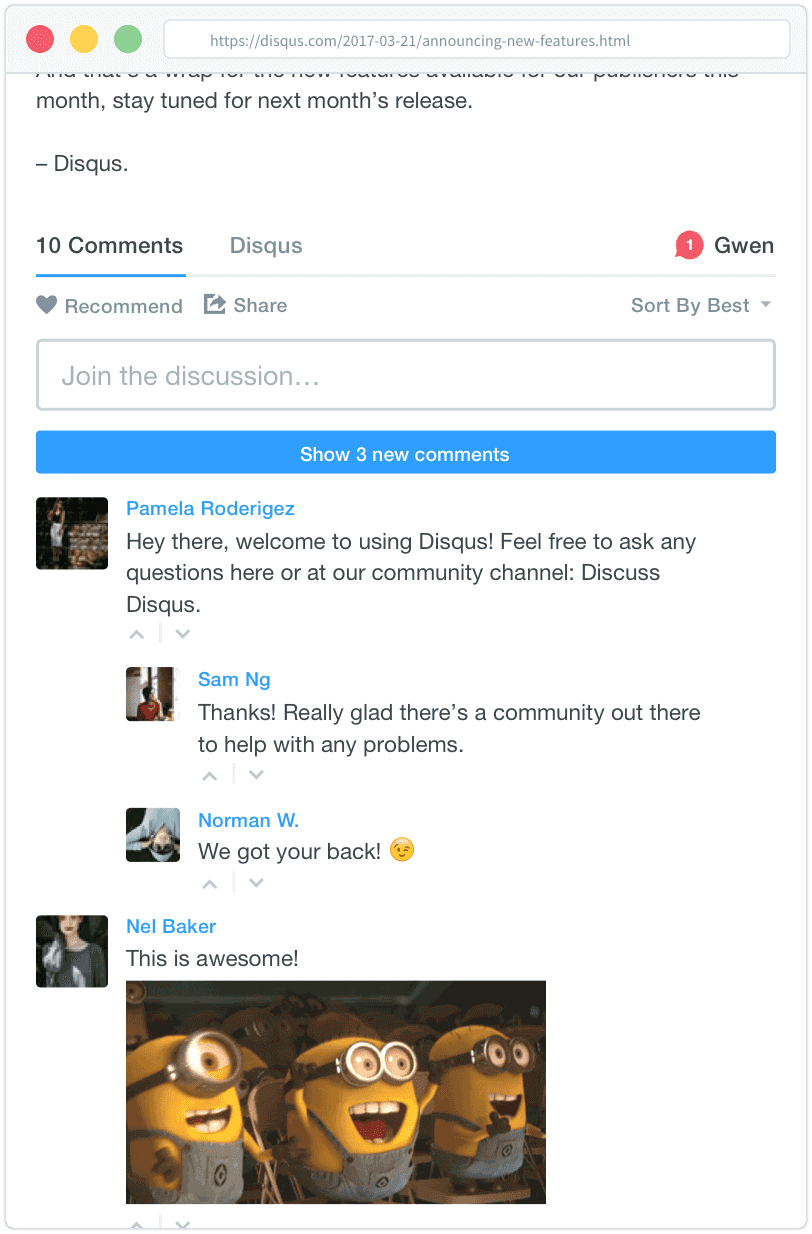
disqus
注册 disqus,配置你自己的 disqus,然后在 Butterfly 里开启它。
修改主题配置文件_config.butterfly.yml:
disqus: |
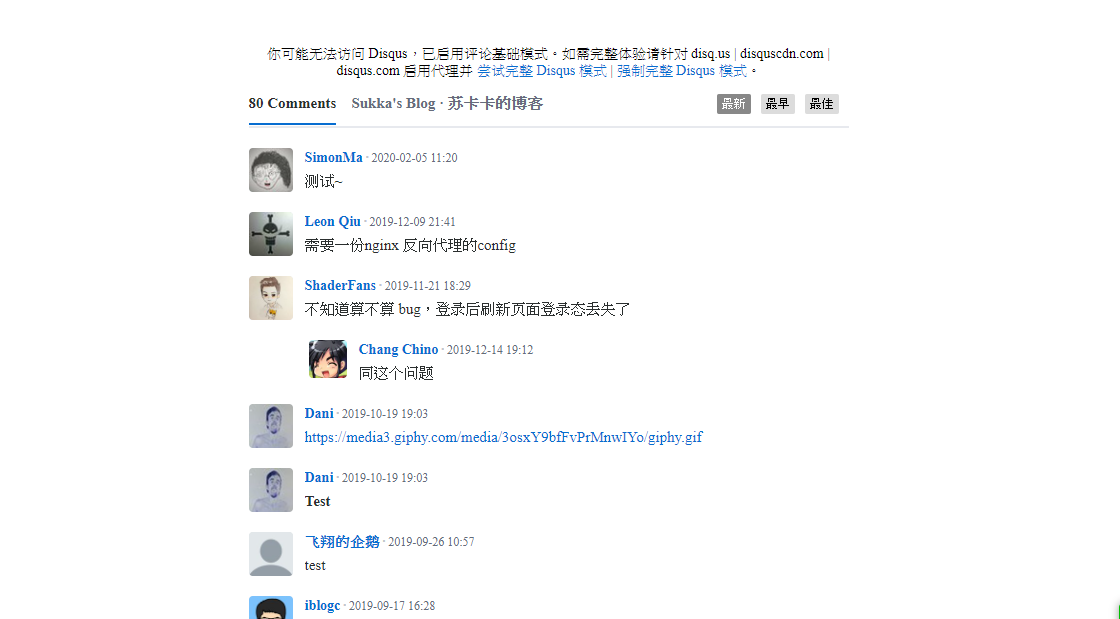
Disqusjs
与 Disqus 一样,但由于 Disqus 在中国大陆无法访问, 使用 Disqusjs 可以在无法访问 Disqus 时显示评论。具体可参考 Disqusjs。
修改主题配置文件_config.butterfly.yml:
disqusjs: |
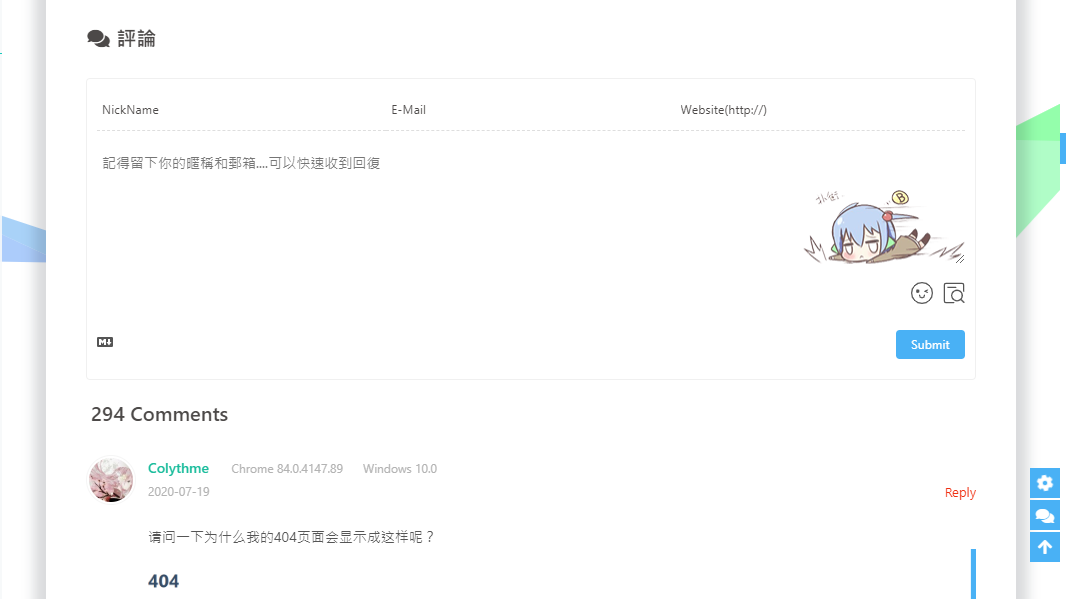
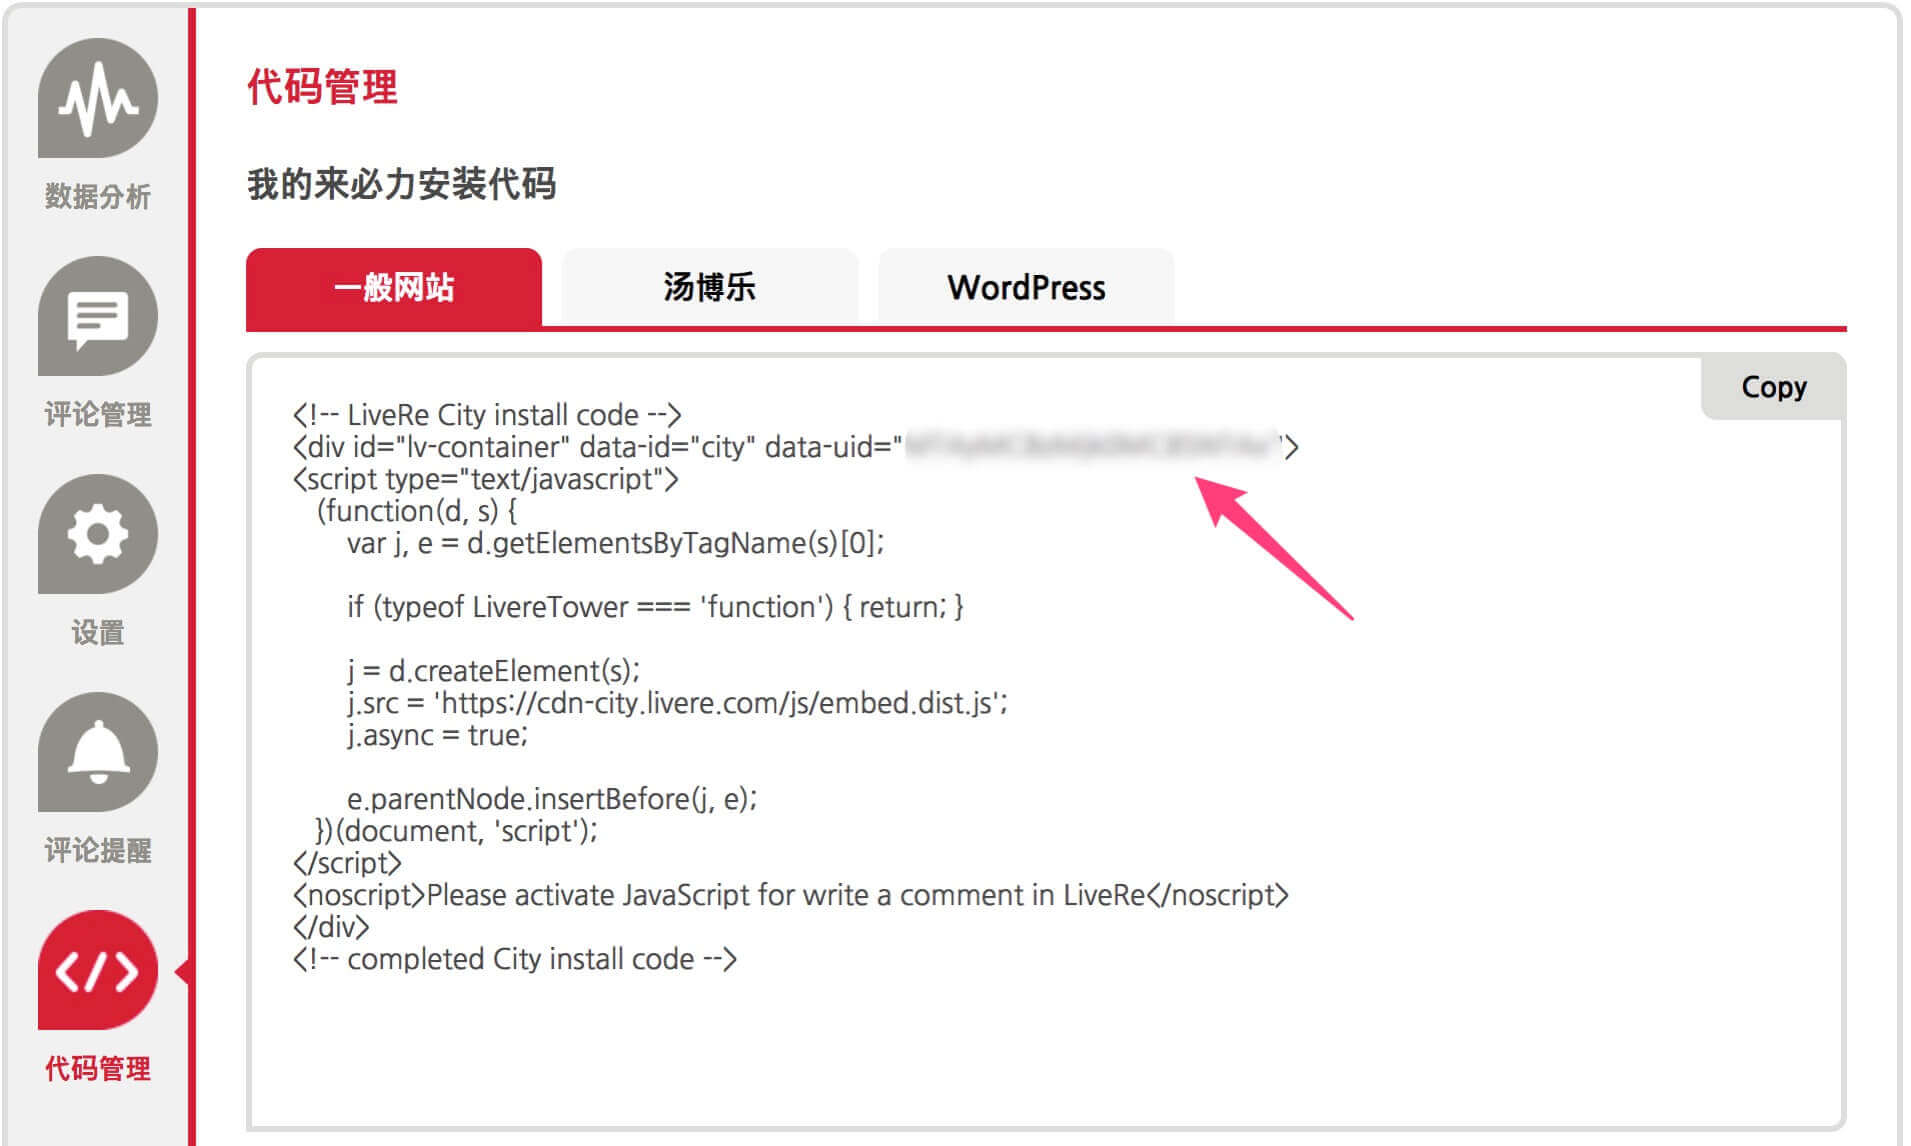
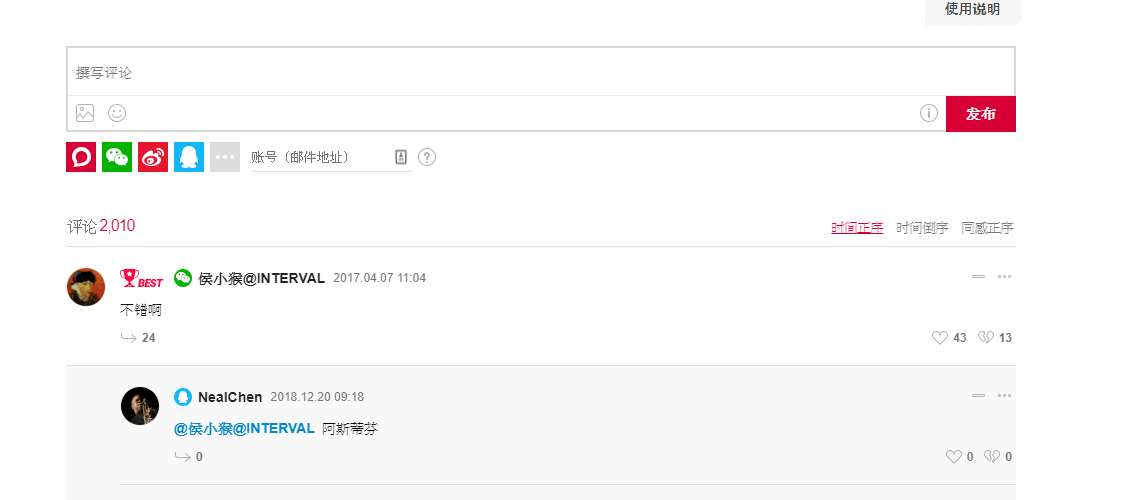
来必力
注册来必力,配置你自己的来必力设置,然后在 Butterfly 里开启它。
修改主题配置文件_config.butterfly.yml:
livere: |
gitalk
遵循 gitalk 的指示去获取你的 github Oauth 应用的 client id 和 secret 值。以及查看它的相关配置説明。
修改主题配置文件_config.butterfly.yml:
gitalk: |

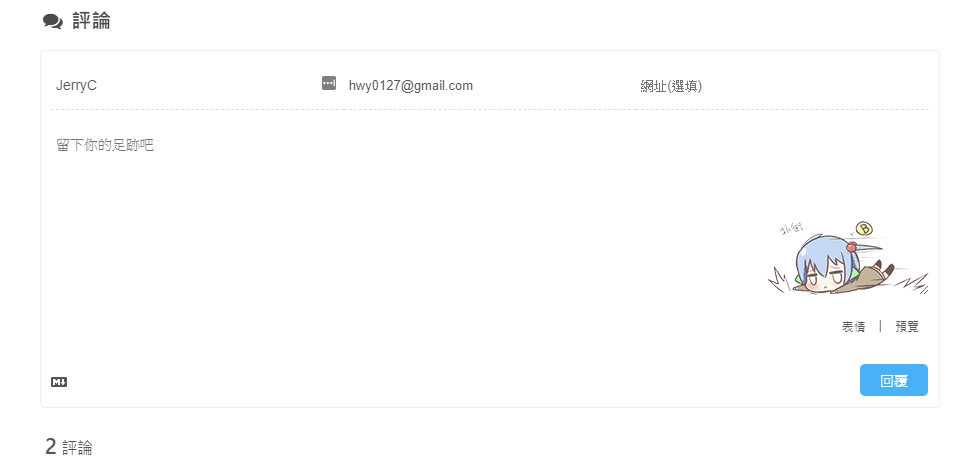
Valine
遵循 Valine 的指示去配置你的 LeanCloud 应用。以及查看相应的配置説明。
修改主题配置文件_config.butterfly.yml:
valine: |
Valine 于 v1.4.5 开始支持自定义表情,如果你需要自行配置,请在 emojiCDN 配置表情 CDN。
同时在 Hexo 工作目录下的 source/_data/ 创建一个 json 文件 valine.json, 等同于 Valine 需要配置的 emojiMaps,valine.json 配置方式可参考如下
# valine.json |
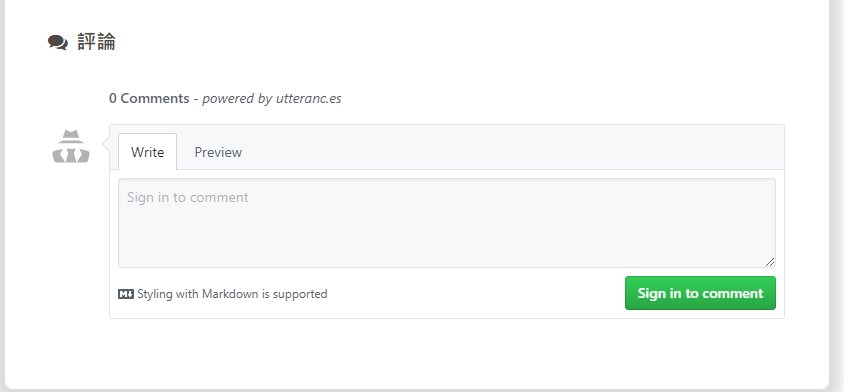
Utterances
与 Gitalk 一样,基于 GitHub issues 的评论工具。相对于 Gitalk, 其相对需要权限较少。具体配置可参考 Utterances。
修改主题配置文件_config.butterfly.yml:
utterances: |
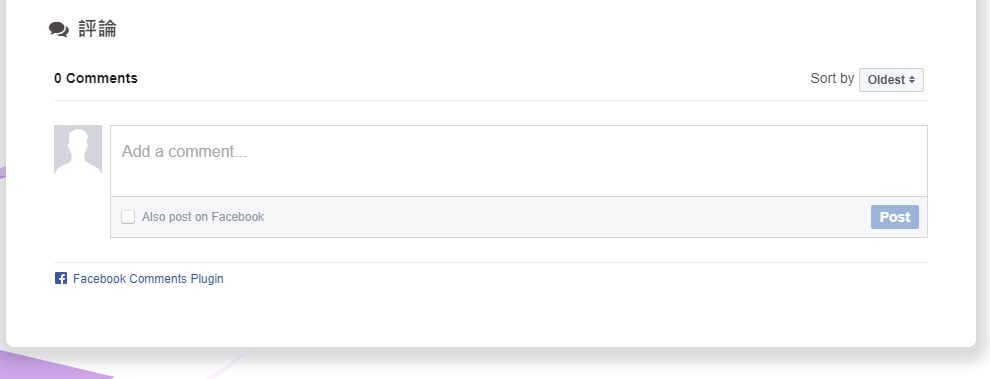
Facebook Comment
Facebook Comments 是 Facebook 提供的评论插件,需要登陆 Facebook 才可评论。
修改主题配置文件_config.butterfly.yml:
# Facebook Comments Plugin |
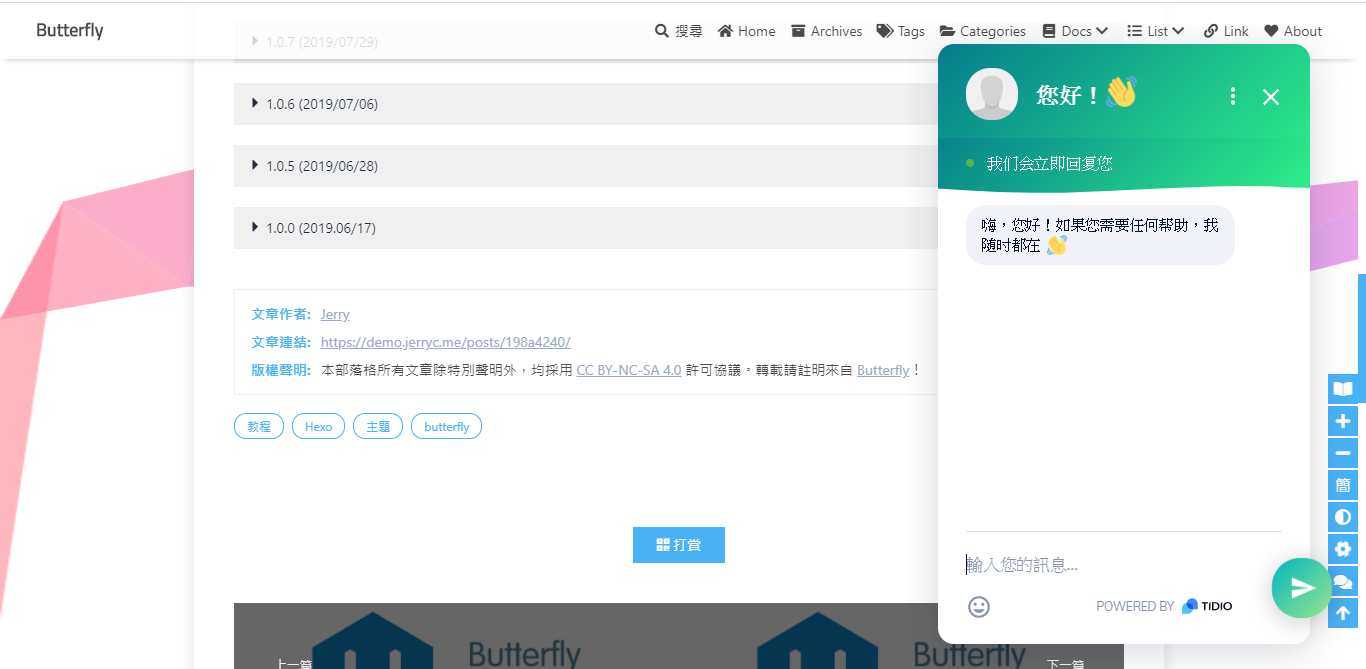
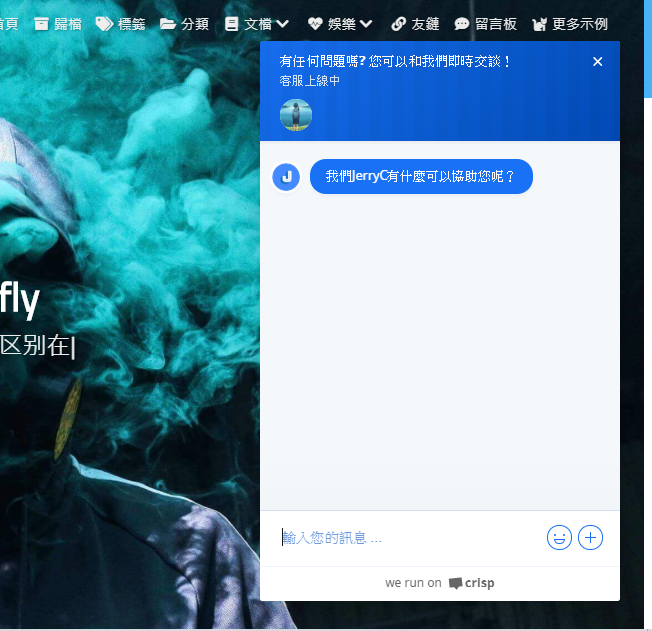
在线聊天
从 3.0 开始,Butterfly 主题内置了 4 种在綫聊天工具。你可以选择开启一种,方便你与访客的交流。
通用设置
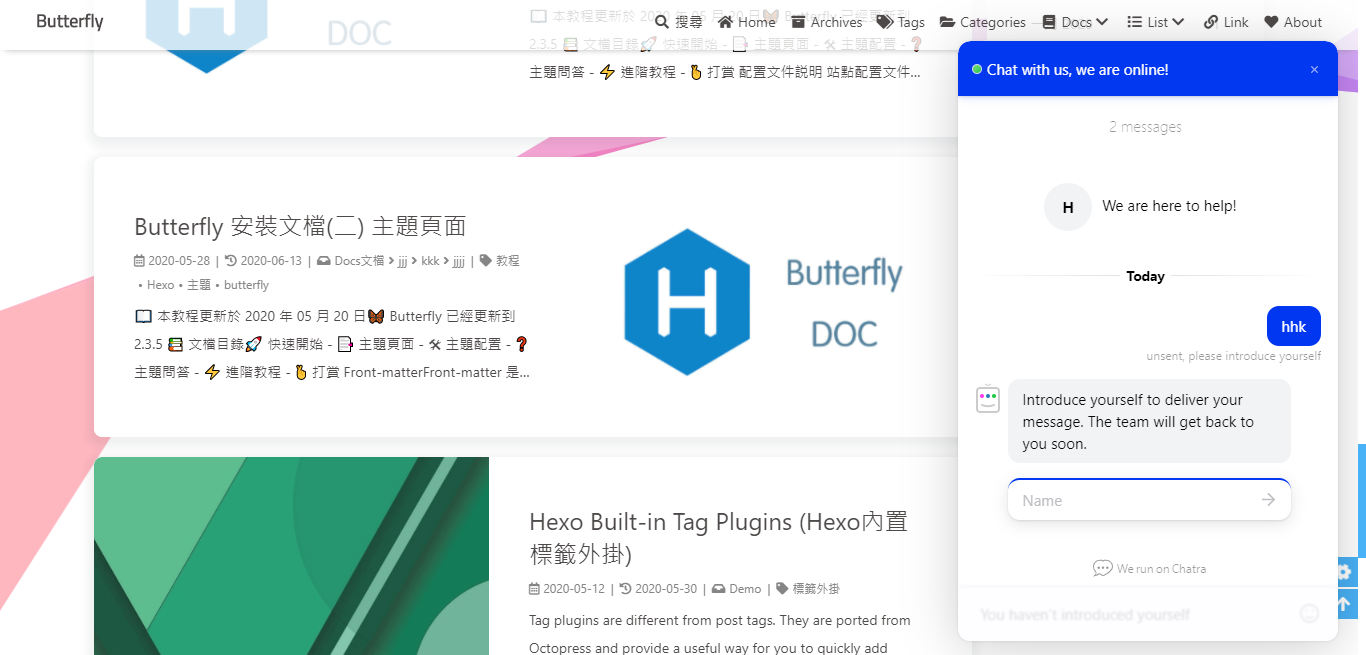
这些工具都提供了一个按钮可以打开 / 关闭聊天窗口。
主题也提供了一个集合主题特色的按钮来替换这些工具本身的按钮,这个聊天按钮将会出现在右下角里。
你只需要把 chat_btn 打开就行。
修改主题配置文件_config.butterfly.yml:
chat_btn: true |
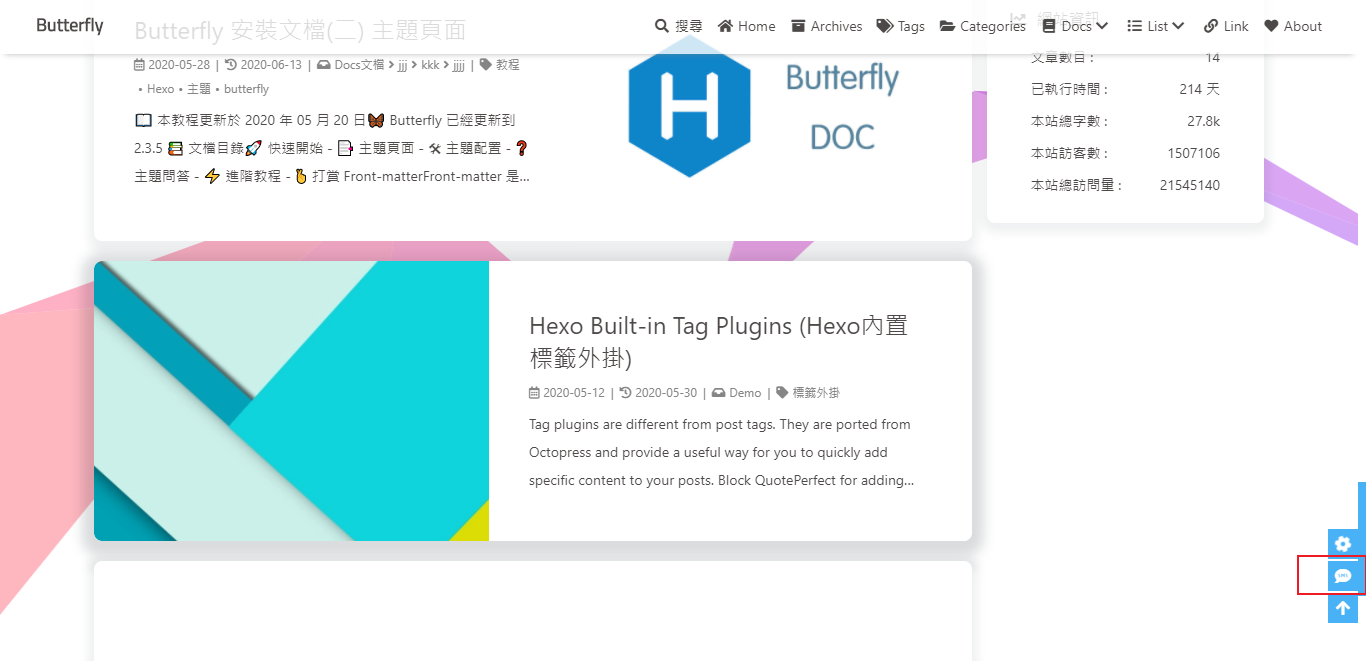
chatra
配置 chatra, 需要知道 Public key,打开 chatra 并注册账号。你可以在 Preferences 中找到 Public key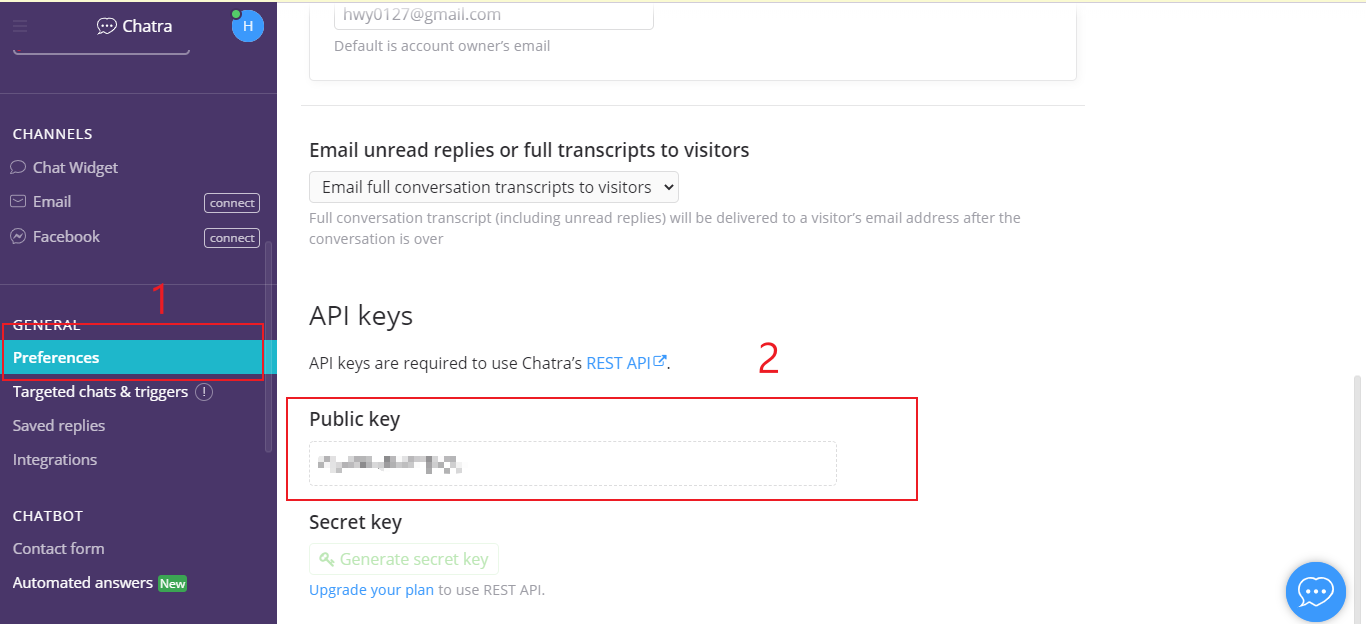
修改主题配置文件_config.butterfly.yml:
chatra: |
chatra 的样式你可以 Chat Widget 自行配置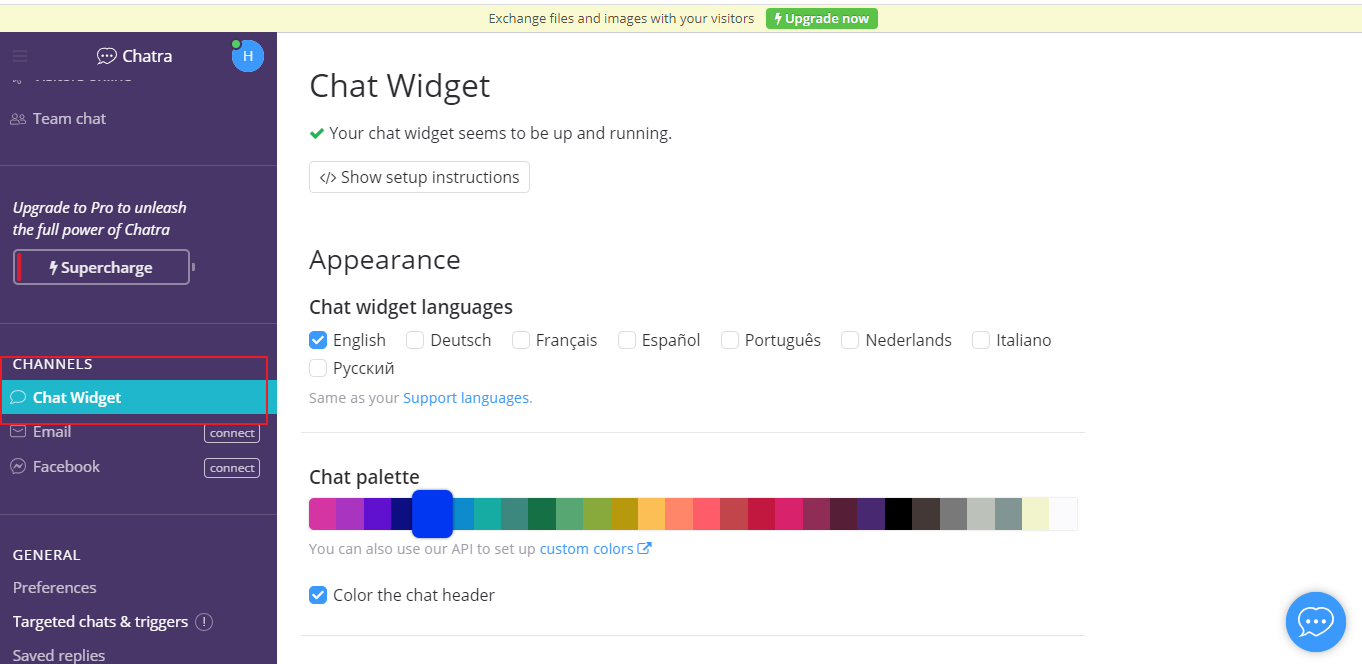
tidio
配置 tidio, 需要知道 Public key, 打开 tidio 并注册账号。你可以在 Preferences > Developer 中找到 Public key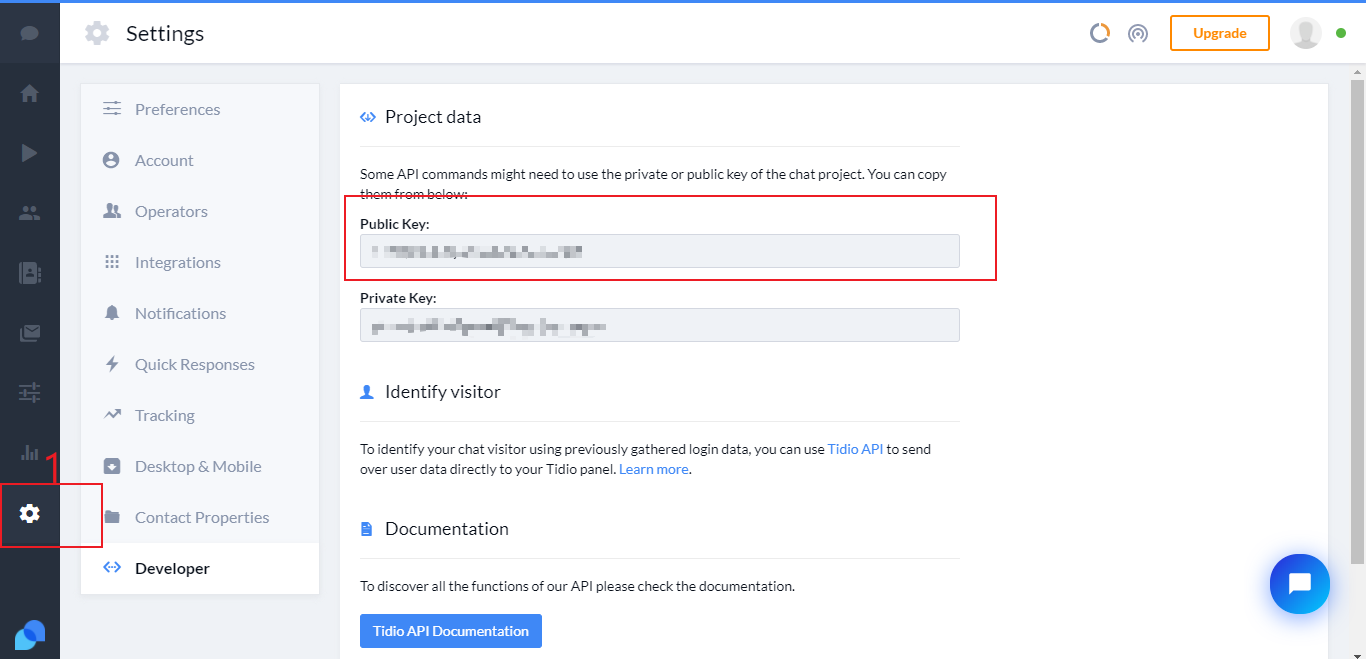
修改主题配置文件_config.butterfly.yml:
tidio: |
tidio 的样式你可以 Channels 自行配置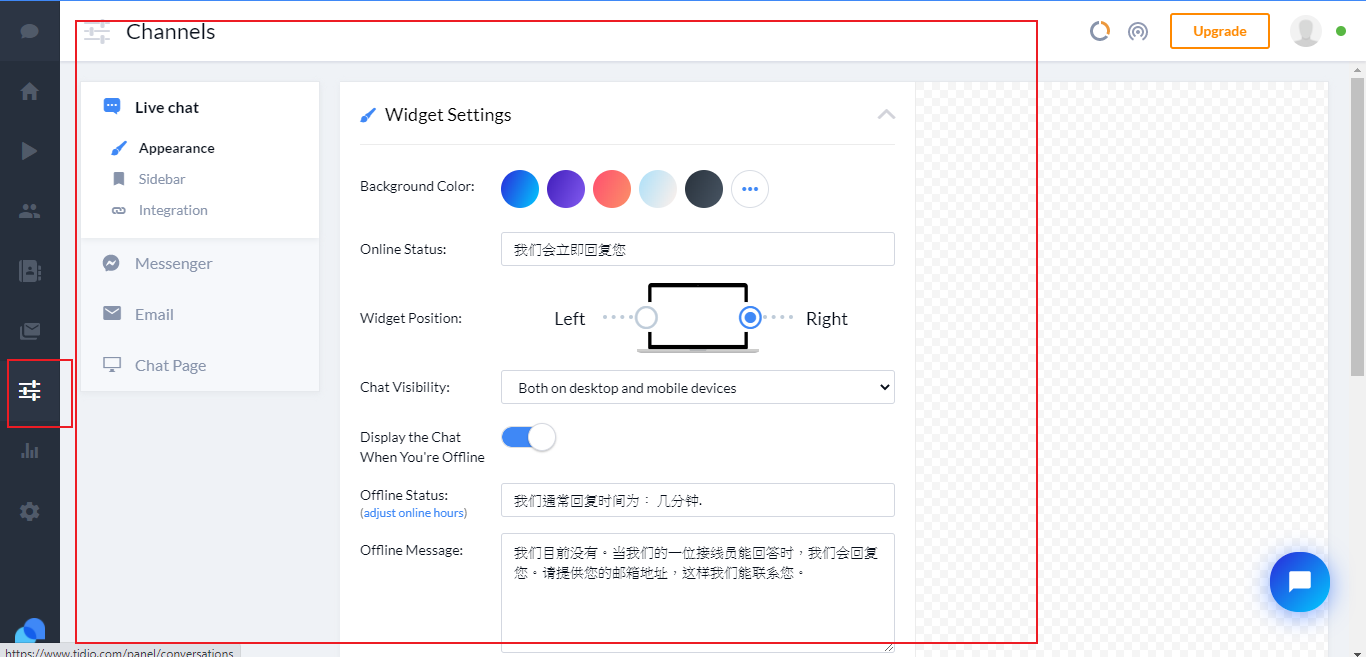
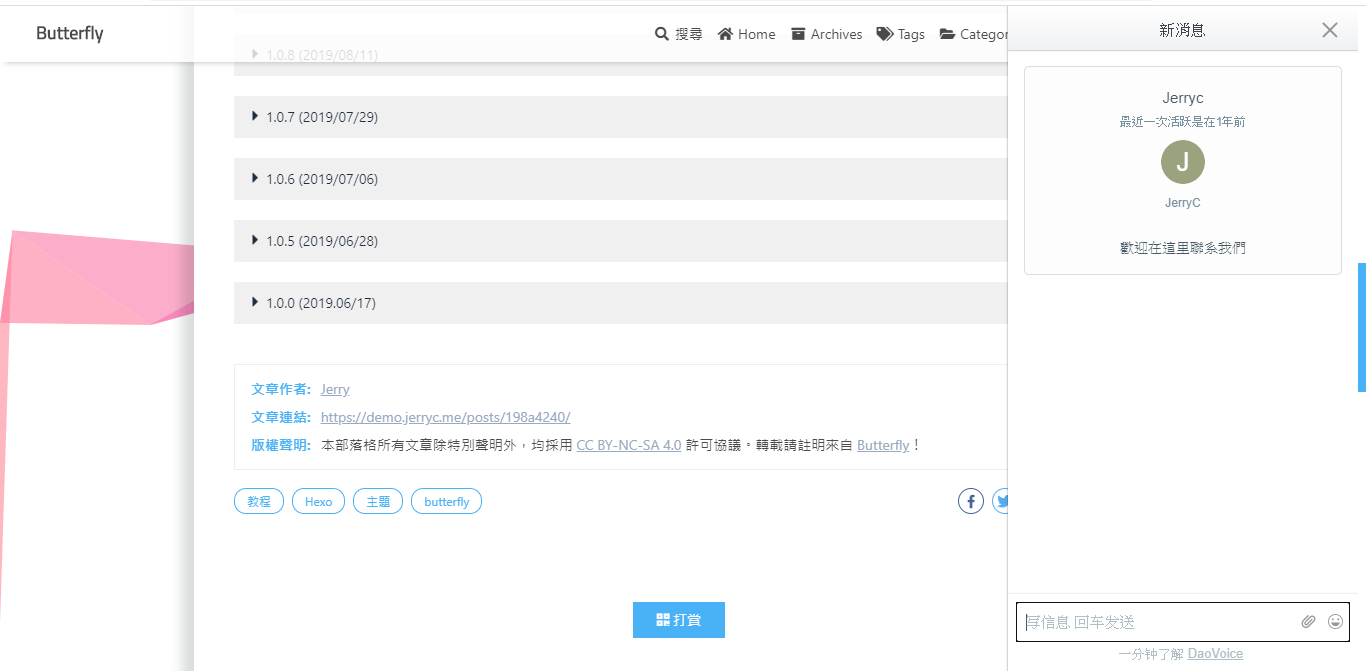
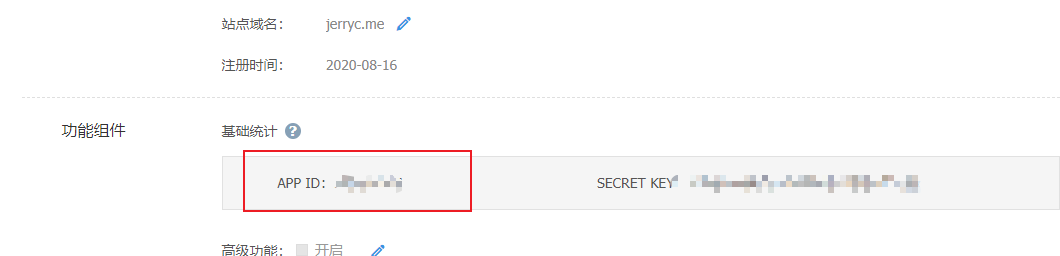
daovoice
打开 daovoice 并注册帐号,找到你的 app id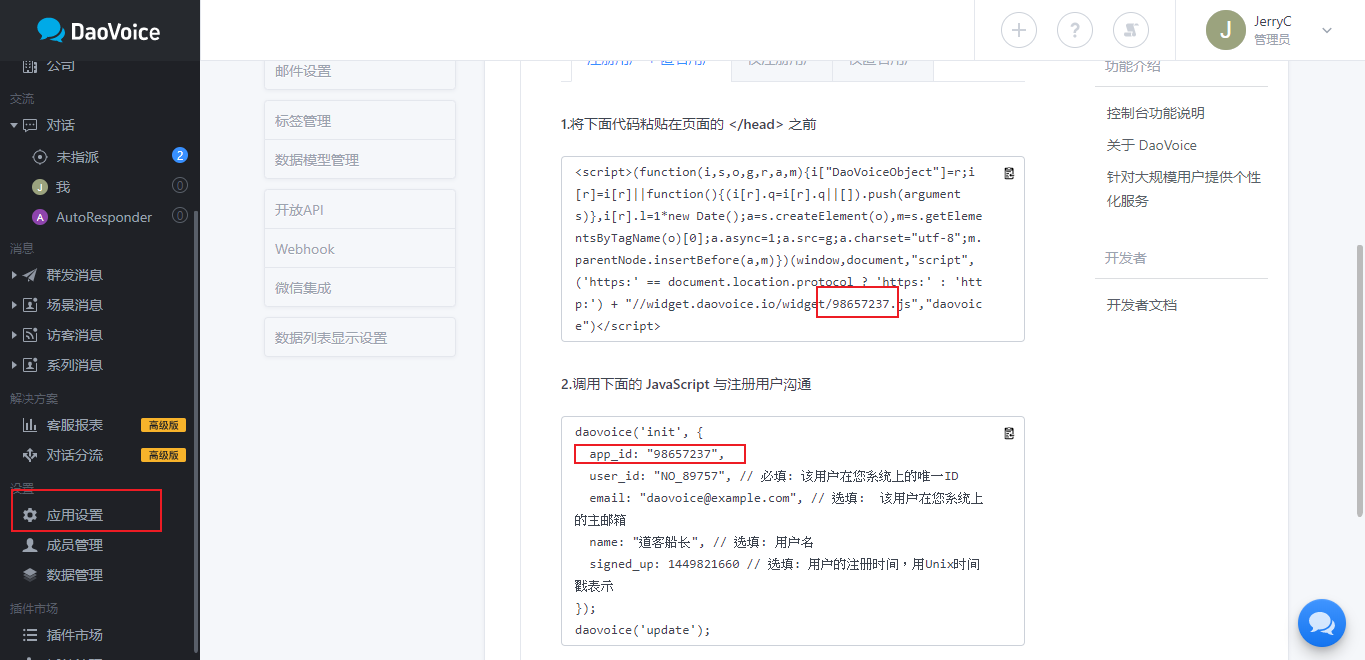
修改主题配置文件_config.butterfly.yml:
daovoice: |
可在聊天设置里配置聊天按钮等样式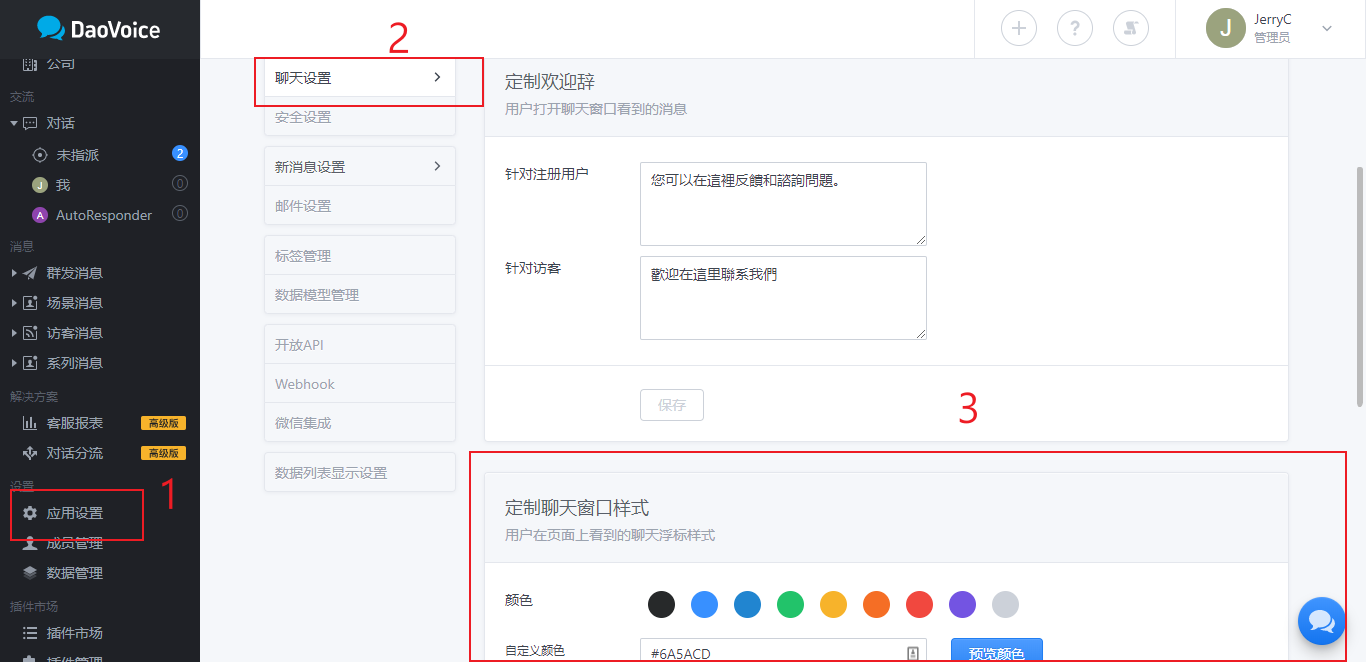
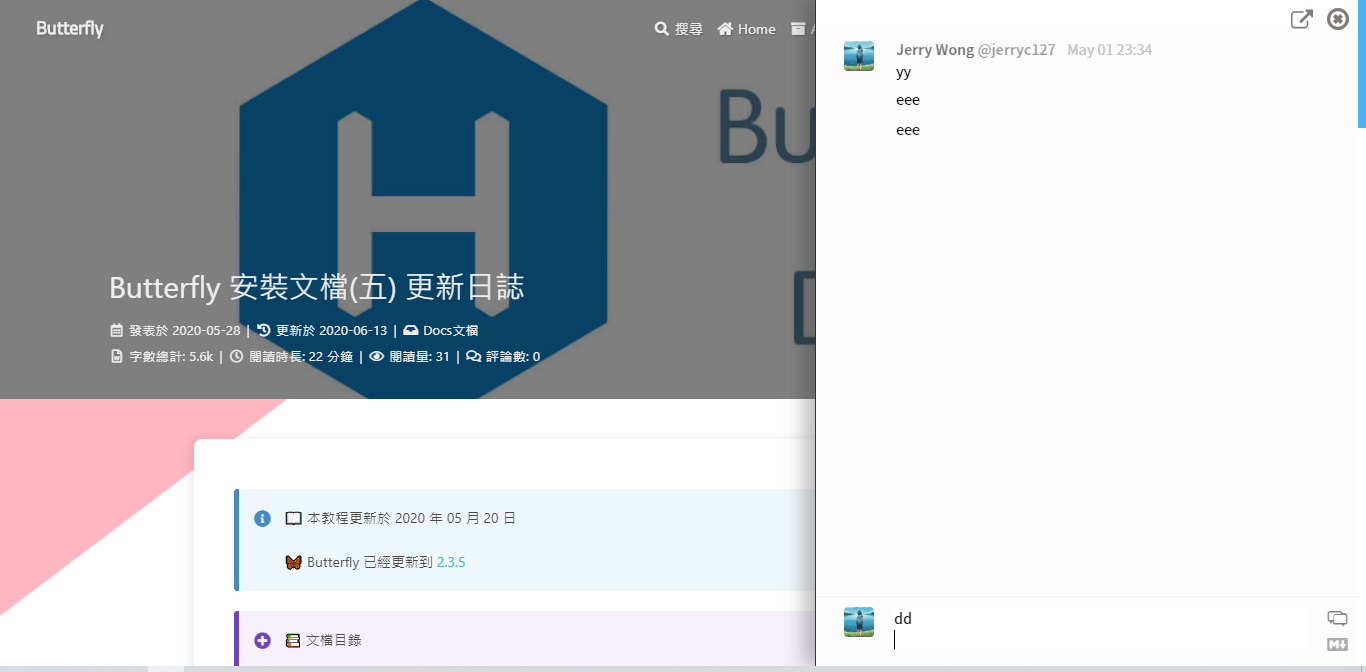
Gitter
打开 Gitter 并注册帐号,创建一个 community 或者 room, 复製名称到设置去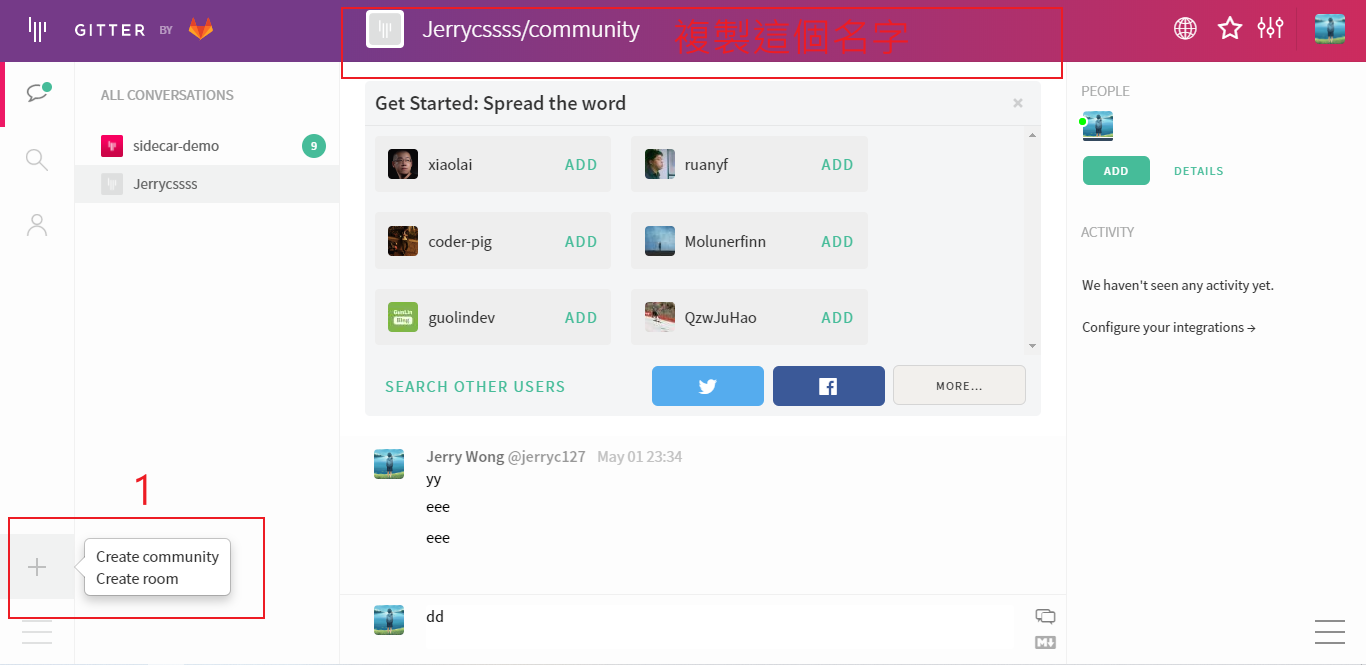
修改主题配置文件_config.butterfly.yml:
gitter: |
crisp
打开 crisp 并注册帐号,找到需要的网站 ID
修改主题配置文件_config.butterfly.yml:

crisp: |
分析统计
百度统计
- 登录百度统计的官方网站
- 找到你百度统计的统计代码

修改主题配置文件_config.butterfly.yml:baidu_analytics: 你的代码
谷歌统计
- 登录谷歌分析的官方网站
- 找到你的谷歌分析的跟踪 ID

修改主题配置文件_config.butterfly.yml:google_analytics: 你的代码 # 通常以`UA-`打头
谷歌统计
- 登录腾讯移动分析的官方网站
- 选择 WEB应用
- 找到你的站点 ID
修改主题配置文件_config.butterfly.yml:tencent_analytics: 你的ID
CNZZ分析
- 登录 CNZZ 分析的官方网站
- 找到 站点设置 - 获取代码
- 找到你的 web_id
修改主题配置文件_config.butterfly.yml:cnzz_analytics: 你的代码

广告
谷歌广告
主题已集成谷歌广告(自动广告)
修改主题配置文件_config.butterfly.yml:
google_adsense: |

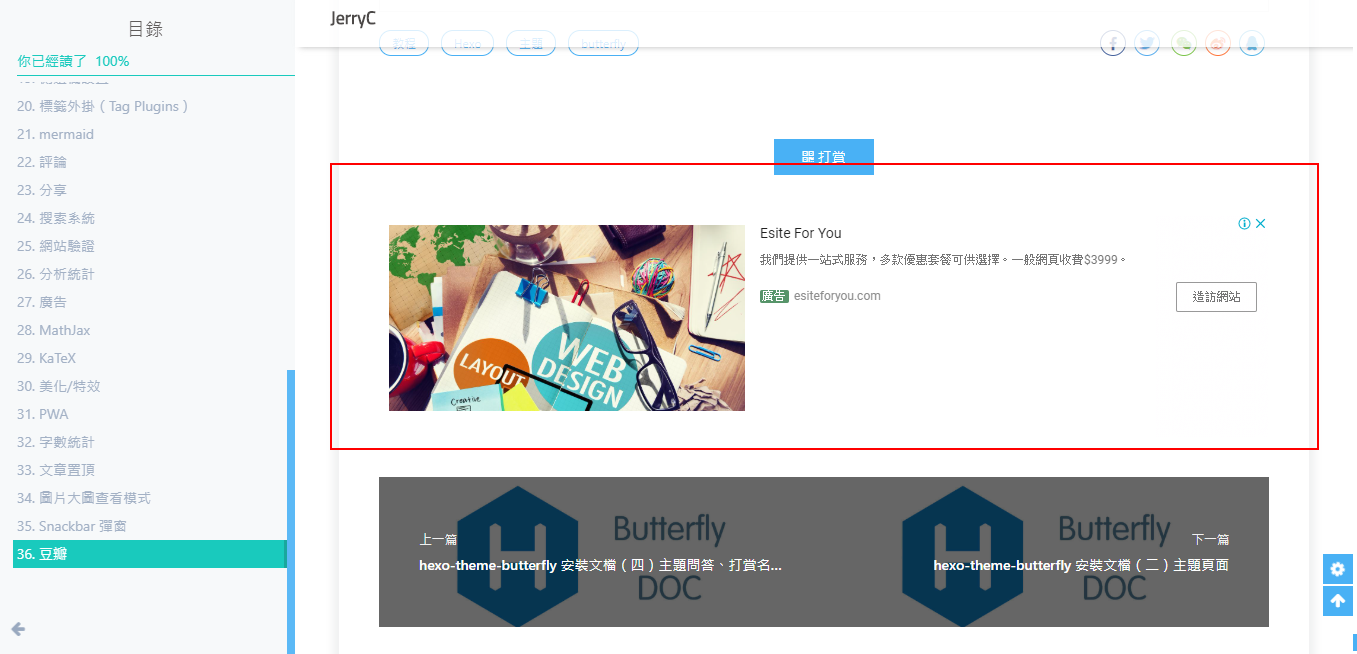
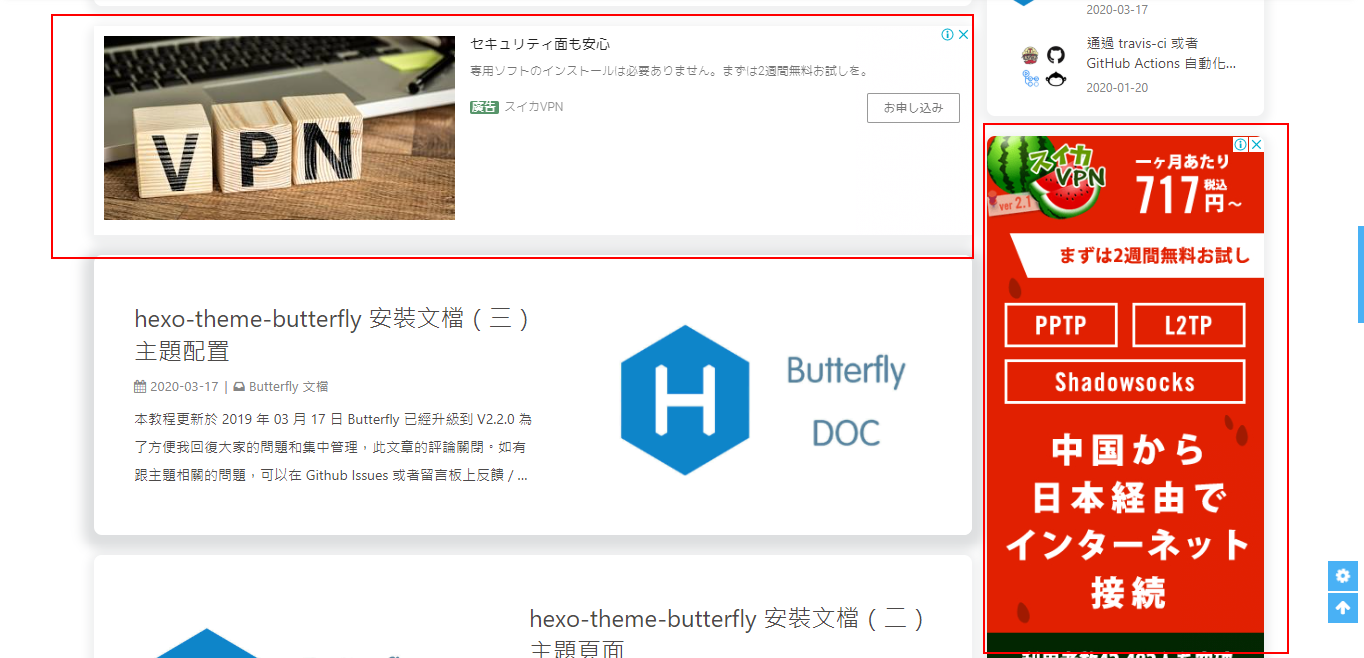
手动广告
主题预留了三个位置可供插入广告,分别为主页文章 (每三篇文章出现广告)/aside 公告之后 / 文章页打赏之后。,把 html 代码填写到对应的位置
修改主题配置文件_config.butterfly.yml:
ad: |
例如:
index: <ins class="adsbygoogle" style="display:block" data-ad-format="fluid" data-ad-layout-key="xxxxxxxxxxxx" data-ad-client="ca-pub-xxxxxxxxxx" data-ad-slot="xxxxxxxxxx"></ins><script>(adsbygoogle=window.adsbygoogle||[]).push({})</script> |
网站验证
如果需要搜索引擎收录网站,可能需要登录对应搜索引擎的管理平台进行提交。
各自的验证码可从各自管理平台拿到
修改主题配置文件_config.butterfly.yml:
# Google Webmaster tools verification setting |
美化/特效
自定义主题色
可以修改大部分 UI 颜色
修改主题配置文件_config.butterfly.yml:
theme_color: |

网站背景
默认显示白色,可设置图片或者颜色
修改主题配置文件_config.butterfly.yml:
background: |
留意: 如果你的网站根目录不是’/‘, 使用本地图片时,需加上你的根目录。
例如:网站是 https://yoursite.com/blog, 引用一张 img/xx.png 图片,则设置 background 为 url (/blog/img/xx.png)
background: url(https://i.loli.net/2019/09/09/5oDRkWVKctx2b6A.png)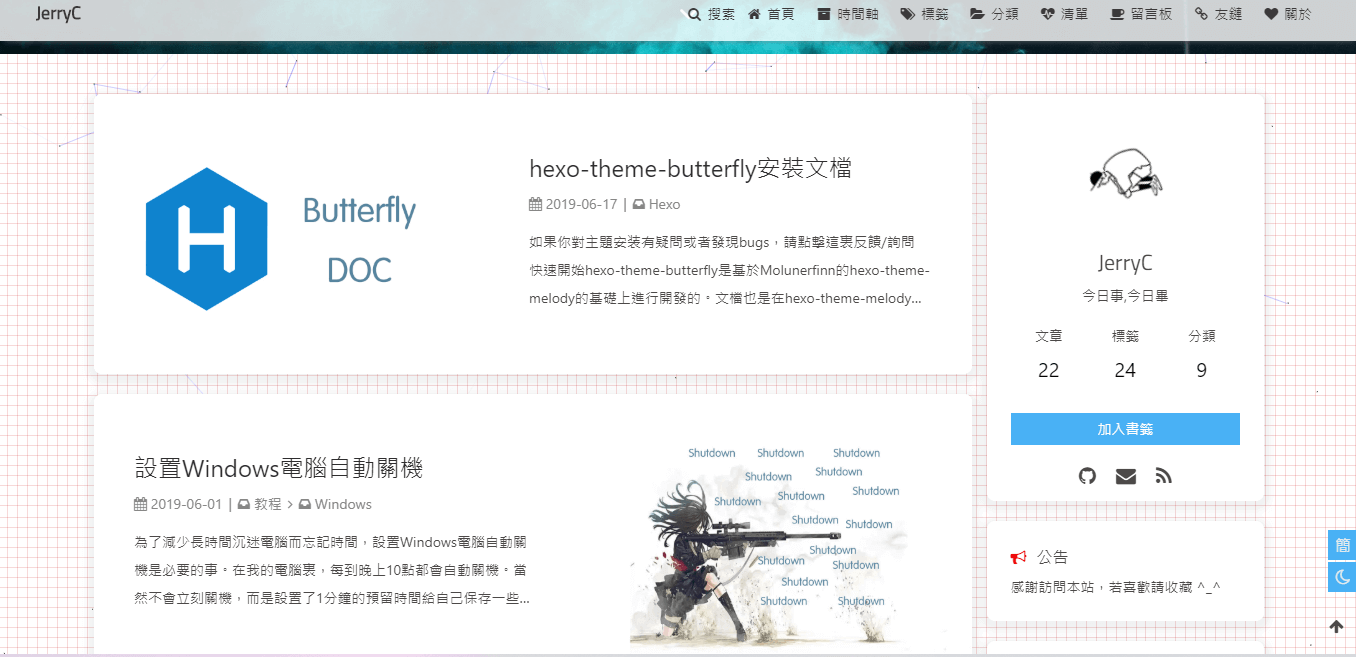
footer 背景
footer 的背景会与 top_img 的一致,当设置 false 时,将与主题色一致。
修改主题配置文件_config.butterfly.yml:
# footer是否显示图片背景(与top_img一致) |

打字效果
打字效果 activate-power-mode
修改主题配置文件_config.butterfly.yml:
# Typewriter Effect (打字效果) |
背景特效
静止彩带
好看的彩带背景,可设置每次刷新更换彩带,或者每次点击更换彩带
修改主题配置文件_config.butterfly.yml:
canvas_ribbon: |
相关配置可查看 canvas_ribbon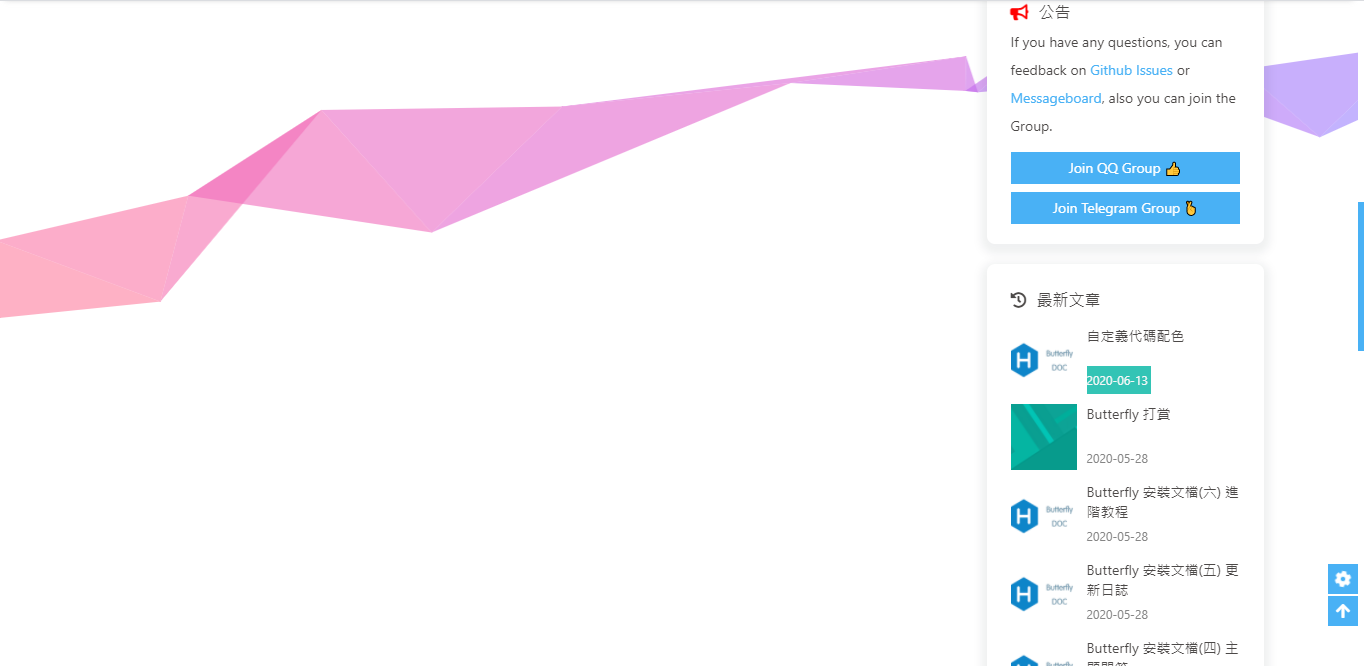
动态彩带
好看的彩带背景,会飘动
修改主题配置文件_config.butterfly.yml:
canvas_ribbon_piao: |
canvas-nest
好看的星空例子特效,会飘动
修改主题配置文件_config.butterfly.yml:
canvas_nest: |

鼠标点击效果
烟花
zIndex 建议只在 -1 和 9999 上选
-1 代表烟火效果在底部
9999 代表烟火效果在前面
修改主题配置文件_config.butterfly.yml:
fireworks: |

爱心
修改主题配置文件_config.butterfly.yml:
# 点击出现爱心 |
文字
修改主题配置文件_config.butterfly.yml:
# 点击出现文字,文字可自行修改 |
页面美化
会改变 ol、ul、h1-h5 的样式field 配置生效的区域
- post 只在文章页生效
- site 在全站生效
修改主题配置文件_config.butterfly.yml:未开启美化# 美化页面显示
beautify:
enable: true
field: site # site/post
title-prefix-icon: '\f0c1'
title-prefix-icon-color: "#F47466"
开启美化
自定义字体和字体大小
全局字体
可自行设置字体的 font-family
如不需要配置,请留空
修改主题配置文件_config.butterfly.yml:
font: |
Blog 标题字体
可自行设置字体的 font-family
如不需要配置,请留空
如不需要使用网络字体,只需要把 font_link 留空就行
修改主题配置文件_config.butterfly.yml:
blog_title_font: |
网站副标题
可设置主页中显示的网站副标题或者喜欢的座右铭。
修改主题配置文件_config.butterfly.yml:
# 主页subtitle |

主页 top_img 显示大小
默认的显示为全屏。site-info 的区域会居中显示
修改主题配置文件_config.butterfly.yml:
# 主页设置 |
注意:index_top_img_height 的值不能使用百分比。
2 个都不填的话,会使用默认值
页面加载动画 preloader
当进入网页时,因为加载速度的问题,可能会导致 top_img 图片出现断层显示,或者网页加载不全而出现等待时间,开启 preloader 后,会显示加载动画,等页面加载完,加载动画会消失。
修改主题配置文件_config.butterfly.yml:
preloader: true |
PWA
PWA简单来说就是让网站有App体验,要为 Butterfly 配上 PWA 特性,你需要如下几个步骤:
- 打开 hexo 工作目录
npm install hexo-offline --save或者yarn add hexo-offline- 修改主题配置文件
_config.butterfly.yml:更多内容请查看 hexo-offline 的官方文档# offline config passed to sw-precache.
offline:
maximumFileSizeToCacheInBytes: 10485760 # 缓存的最大文件大小,以字节为单位
staticFileGlobs:
- public/**/*.{js,html,css,png,jpg,gif,svg,webp,eot,ttf,woff,woff2}
# 静态文件合集,如果你的站点使用了例如webp格式的文件,请将文件类型添加进去。
stripPrefix: public
verbose: true
runtimeCaching:
# CDNs - should be cacheFirst, since they should be used specific versions so should not change
- urlPattern: /* # 如果你需要加载CDN资源,请配置该选项,如果没有,可以不配置。
handler: cacheFirst
options:
origin: your_websie_url # 可替换成你的 url - 在主题配置文件中开启 pwa 选项。
pwa:
  enable: true
  manifest: /img/pwa/manifest.json
  apple_touch_icon: /img/pwa/apple-touch-icon.png
  favicon_32_32: /img/pwa/32.png
  favicon_16_16: /img/pwa/16.png
mask_icon: /img/pwa/safari-pinned-tab.svg - 在创建 source/ 目录中创建 manifest.json 文件。你也可以通过 Web App Manifest 快速创建 manifest.json。(Web App Manifest 要求至少包含一个 512*512 像素的图标)
{
    "name": "string", //应用全称
    "short_name": "Junzhou", //应用简称
    "theme_color": "#49b1f5", //匹配浏览器的地址栏颜色
    "background_color": "#49b1f5",//加载应用时的背景色
    "display": "standalone",//首选显示模式 其他选项有:fullscreen,minimal-ui,browser
    "scope": "/",
    "start_url": "/",
    "icons": [ //该数组指定icons图标参数,用来时适配不同设备(需为png,至少包含一个192px*192px的图标)
        {
          "src": "images/pwaicons/36.png", //图标文件的目录,需在source/目录下自行创建。
          "sizes": "36x36",
          "type": "image/png"
        },
        {
            "src": "images/pwaicons/48.png",
          "sizes": "48x48",
          "type": "image/png"
        },
        {
          "src": "images/pwaicons/72.png",
          "sizes": "72x72",
          "type": "image/png"
        },
        {
          "src": "images/pwaicons/96.png",
          "sizes": "96x96",
          "type": "image/png"
        },
        {
          "src": "images/pwaicons/144.png",
          "sizes": "144x144",
          "type": "image/png"
        },
        {
          "src": "images/pwaicons/192.png",
          "sizes": "192x192",
          "type": "image/png"
        },
        {
            "src": "images/pwaicons/512.png",
            "sizes": "512x512",
            "type": "image/png"
          }
      ],
      "splash_pages": null //配置自定义启动动画。
  }
- 可以通过 Chrome 插件 Lighthouse 检查 PWA 配置是否生效以及配置是否正确。
- 打开博客页面
- 启动 Lighthouse 插件 (Lighthouse 插件要求至少包含一个 512*512 像素的图标)
关于 PWA(渐进式增强 Web 应用)的更多内容请参閲 Google Tools for Web Developers
图片大图查看模式
fancybox
修改主题配置文件_config.butterfly.yml:
# fancybox http://fancyapps.com/fancybox/3/ |
medium_zoom
修改主题配置文件_config.butterfly.yml:
medium_zoom: true |
Snackbar 弹窗
Snackbar 弹窗,根据自己爱好开启
修改主题配置文件_config.butterfly.yml:
snackbar: |
未开启
已经开启
豆瓣
很多人使用 hexo-douban 这款插件。但是该插件是直接生成相应的网页,而不会去读取对应的 markdown 文件。因此,可在设置里进行相应的配置。
修改主题配置文件_config.butterfly.yml:
# 如果你有使用hexo-douban,可配置这个 |
由于豆瓣开启了反盗链,因此,一些浏览器(safari)会无法显示图片,可把 meta 设为 true。但此操作会导致一些插件失效(例如:不蒜子)。
Pjax
当用户点击链接,通过 ajax 更新页面需要变化的部分,然后使用 HTML5 的 pushState 修改浏览器的 URL 地址。
这样可以不用重复加载相同的资源(css/js), 从而提升网页的加载速度。
修改主题配置文件_config.butterfly.yml:
# 如果你有使用hexo-douban,可配置这个 |
Inject
如想添加额外的 js/css/meta 等等东西,可以在 Inject 里添加,支持添加到 head (</body> 标籤之前) 和 bottom (</html> 标籤之前)。
请注意:以标準的 html 格式添加内容
修改主题配置文件_config.butterfly.yml:
inject: |
留意: 如果你的网站根目录不是’/‘, 使用本地图片时,需加上你的根目录。
例如:网站是 https://yoursite.com/blog, 引用 css/xx.css,则设置为 <link rel="stylesheet" href="/blog/css/xx.css">


